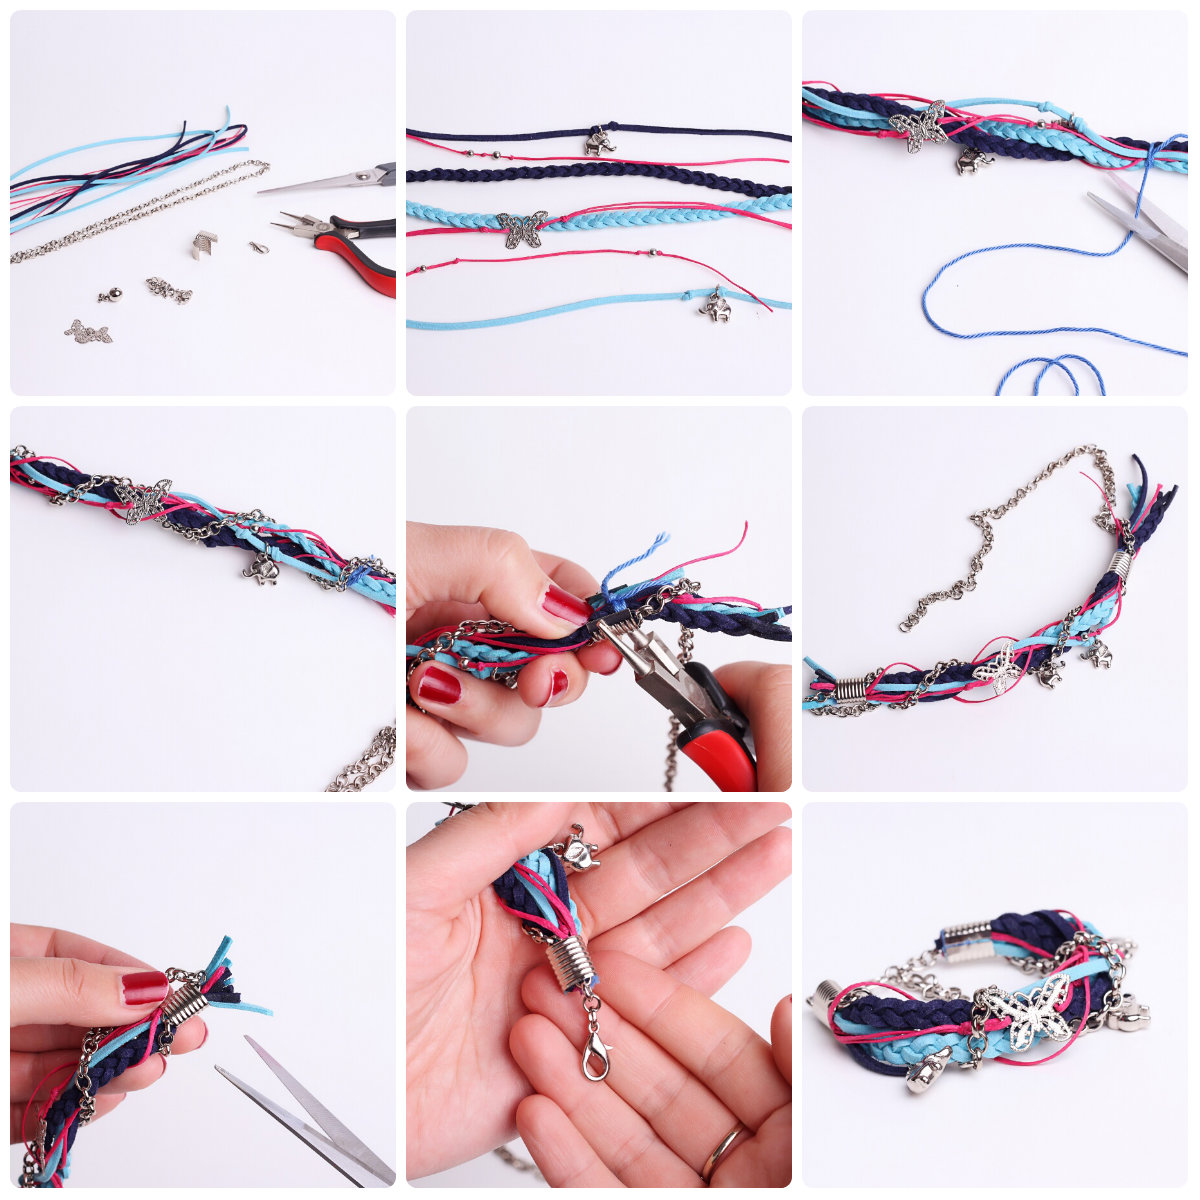
DIY - how to make a braided charm bracelet
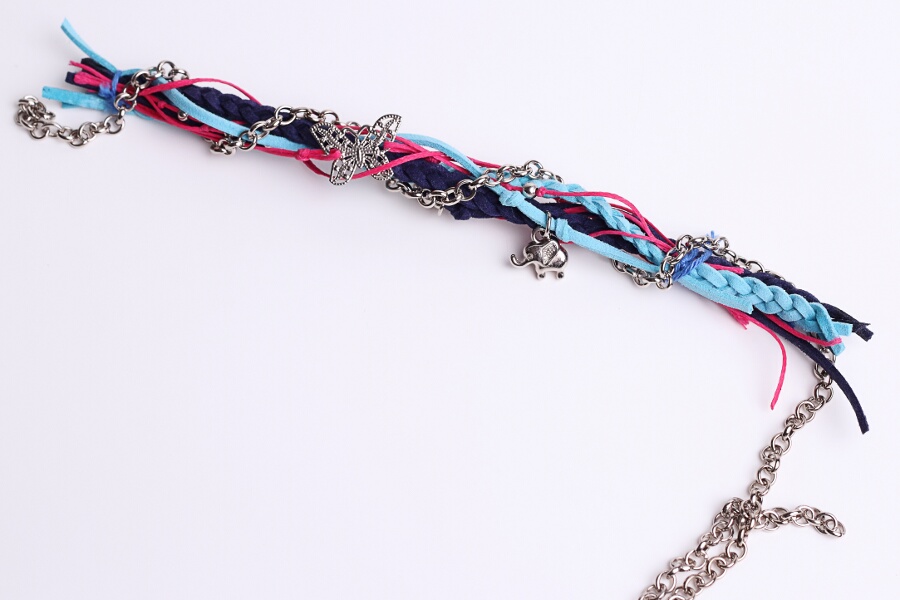
Today we are excited to show you a simple way to make your own charm bracelet. At the end of this DIY you will have a bracelet like this:
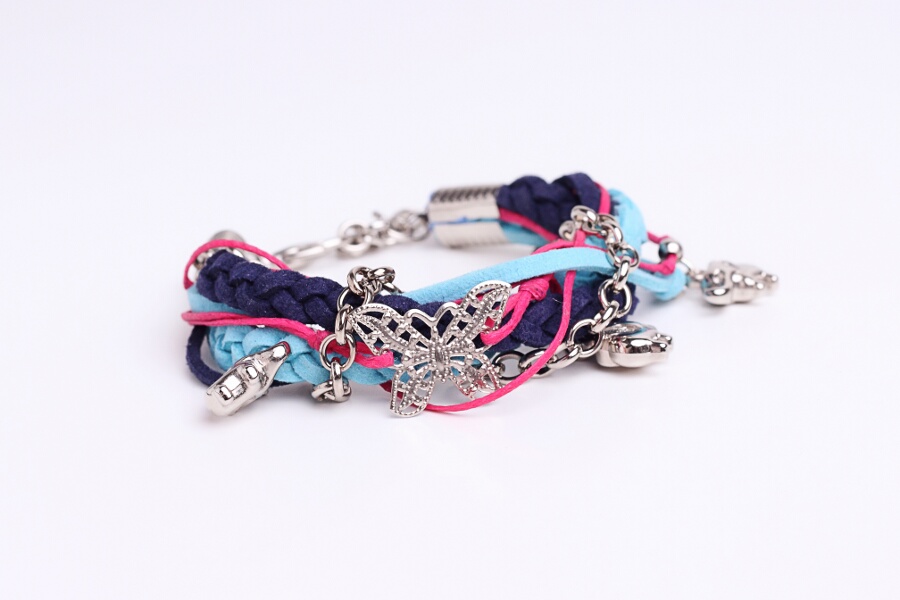
The bracelet you're about to make
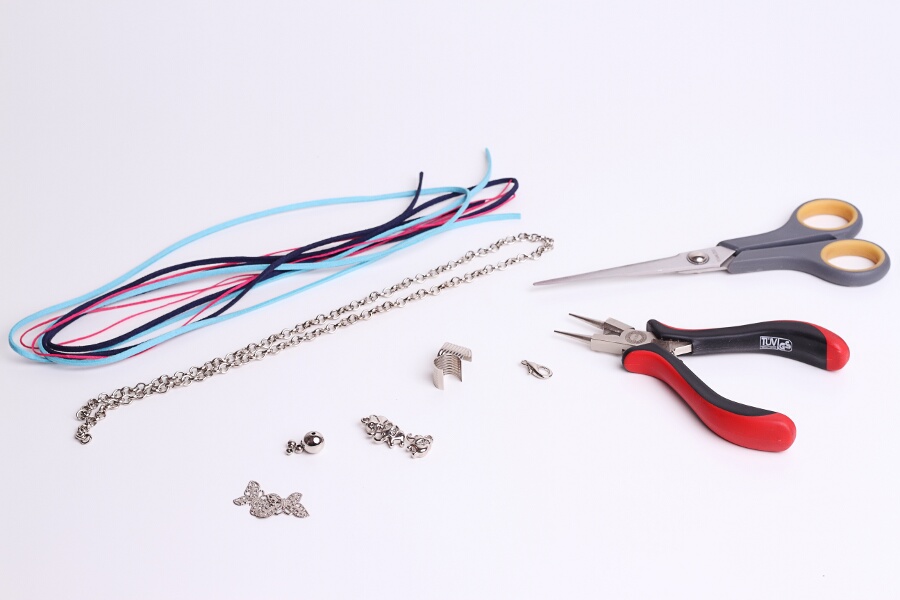
Without further ado, let's get to action! Step 1: You will need to have all the tools and materials ready. You can change the design of the bracelet by incorporate different colors, charms of your choice or the color tone of the bracelet - gold or silver.
- Suede cord
- Waxed linen cord
- A pair of scissors
- Beads / Charms of your choice
- Lobster clasp
- Adjustable crimp tube
- Jewelry pliers
- Additional silver or gold plated chain
Step 1
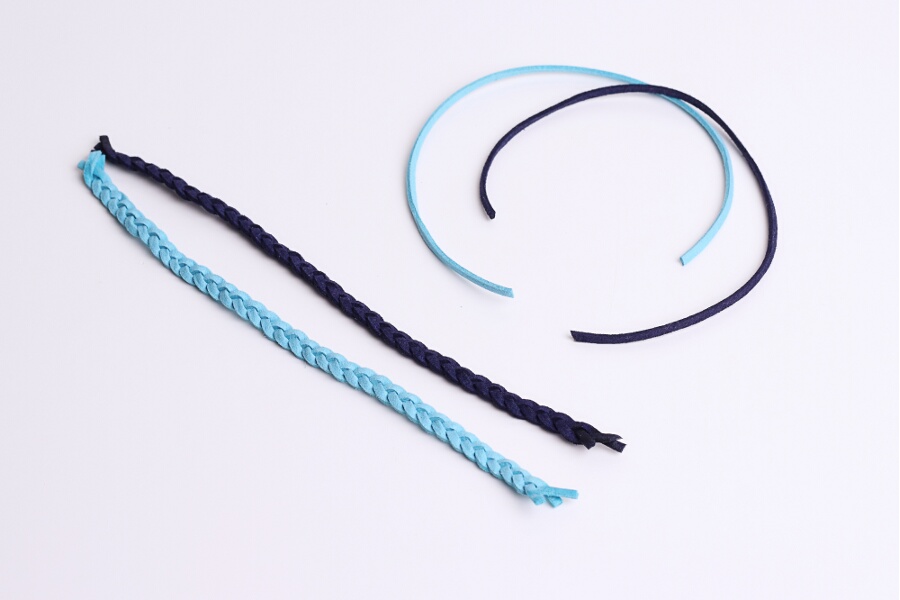
Step 2: Use the suede cording and create a few braids from different colors to be used as part of the final bracelet
Step 2
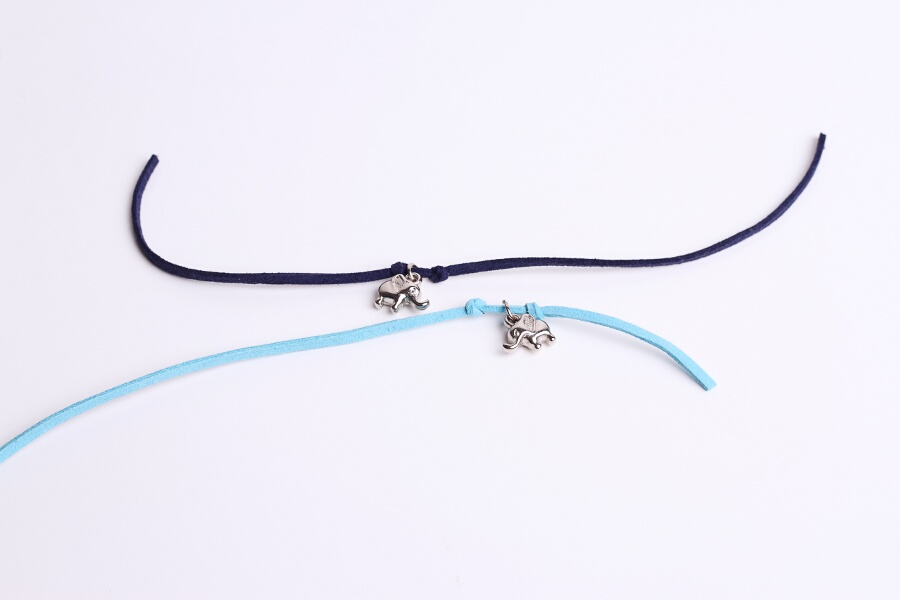
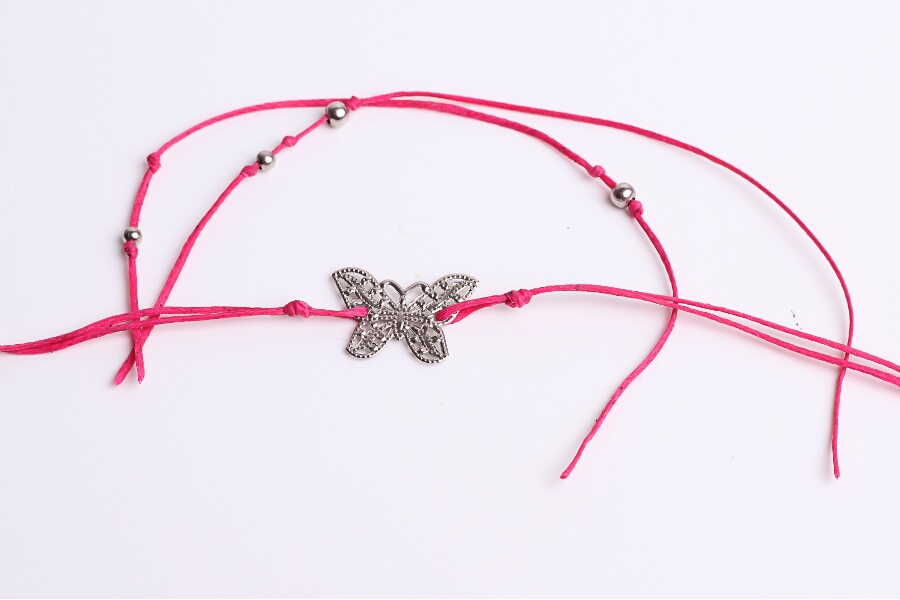
Step 3: Add your favorite charms by applying knots at two ends, so that the charms can be relatively fixed.
Step 3a
Step 3b
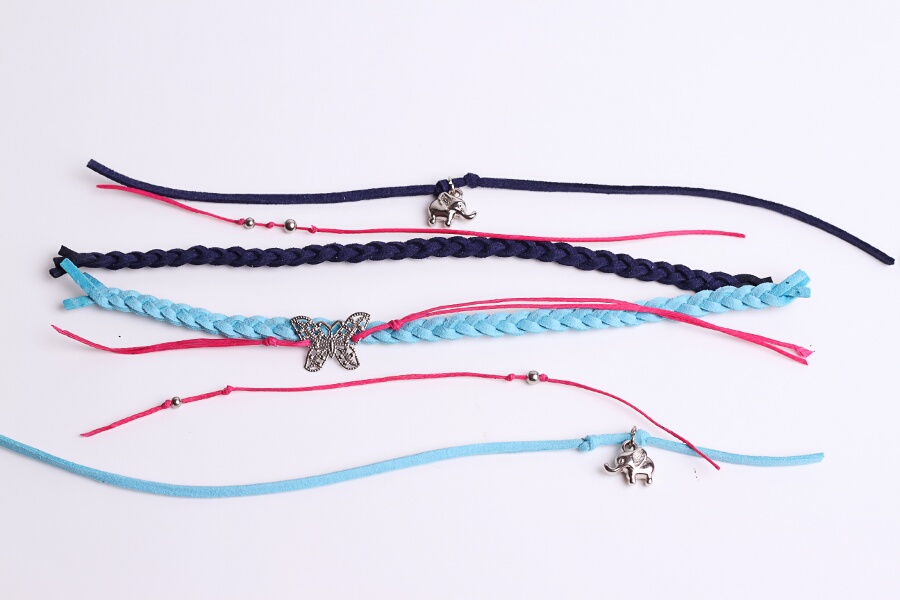
Step 4: Arrange the order of the adorned cords and the braids you have just created.
Step 4
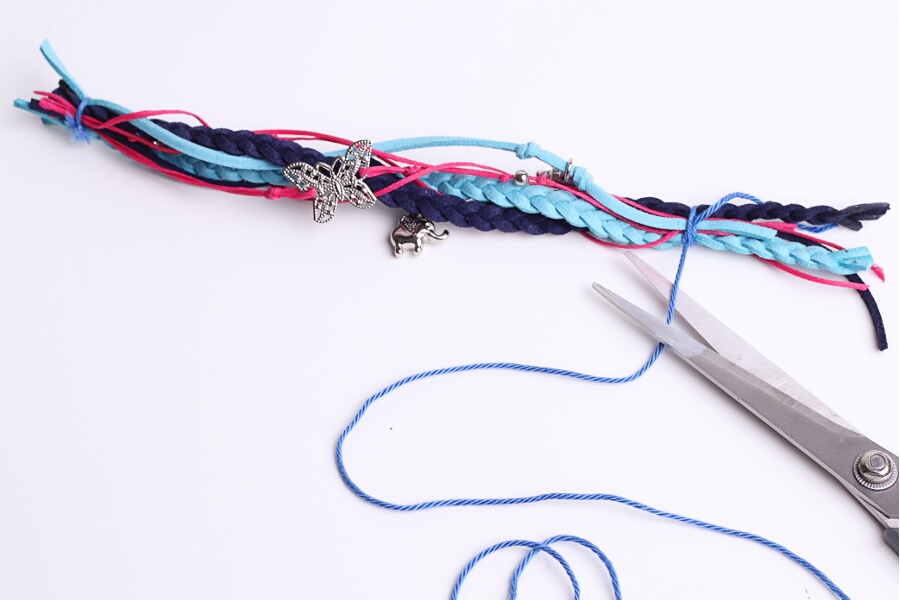
Step 5: Tie firmly the braids and embellished the cords at both ends.
Step 5a
Step 5b
Step 6: Wrap the silver tone chain around the bracelet to create a more sophisticated look.
Step 6
Step 7: Using the jewelry pliers to fasten the adjustable crimp tubes at both ends.
Step 7a
Step 7b
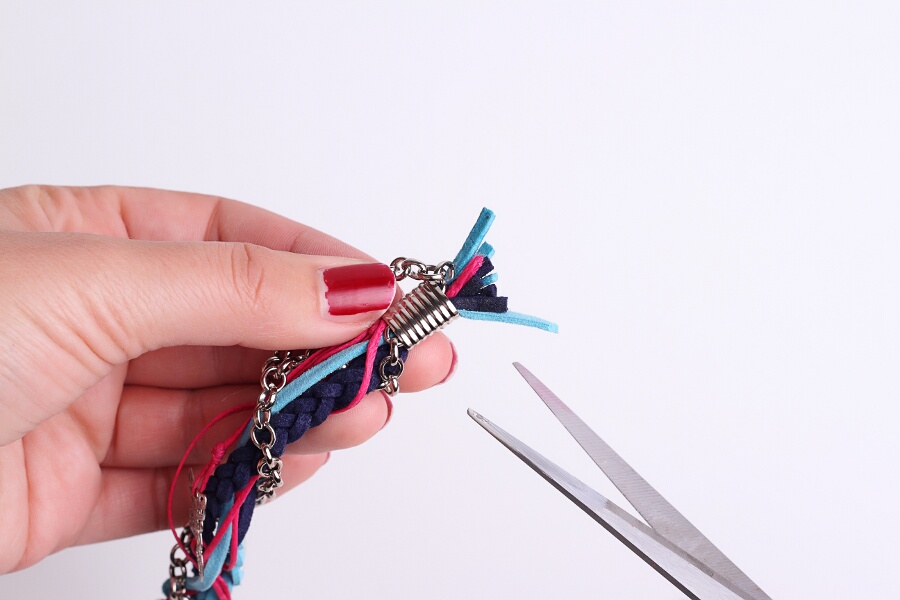
Step 8: Cut off the excessive part of the cords and braids.
Step 8
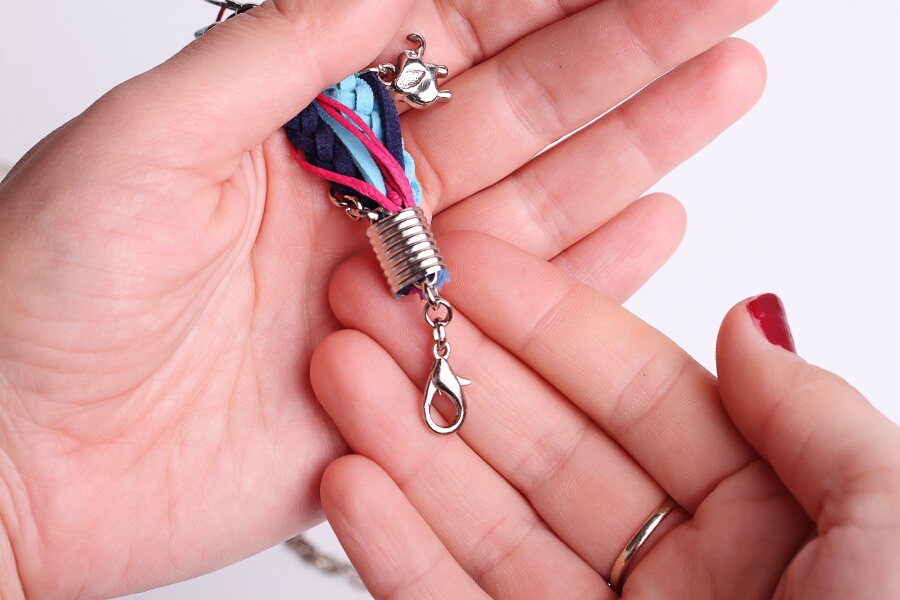
Step 9: Add a lobster clasp at one end of the bracelet
Step 9
...and tada! The final bracelet is done! You've just learnt how to create a pretty and vibrant bracelet yourself, plus with the little cute charms of your choices. How exciting is that!
Wearing our just made bracelet!
What is your thought on this DIY project? Feel free to share a picture of your very own bracelet in the comments. What kind of DIY projects would you be interested to learn? Please share your thoughts with us in the comment, so that we can create more fun easy-to-learn DIY tutorials for you! Also check out how to create a pretty
gift package DIY tutorial.








Dejar un comentario