


Gift Wrapping DIY Project
Holiday season is here, and a beautiful packaging is always appreciated. In today’s DIY tutorial, we are going to show you a simple way to create a gift package.

Gift package DIY project
The tools you would need:

Tools needed for gift wrapping DIY project
- A pair of scissors
- A craft knife
- Gift paper (ideally with beautiful color or pattern, just to make the gift wrapping more fun)
- Bolts of ribbon (the color of your choice)
- The gift (we are going to use the homemade braided charm bracelet we created in a previous tutorial as the gift in this post)
Step 1: Cut the paper into a circular shape.

Preparation - cut the paper
Step 2: Position the bracelet in the center of round shape gift paper
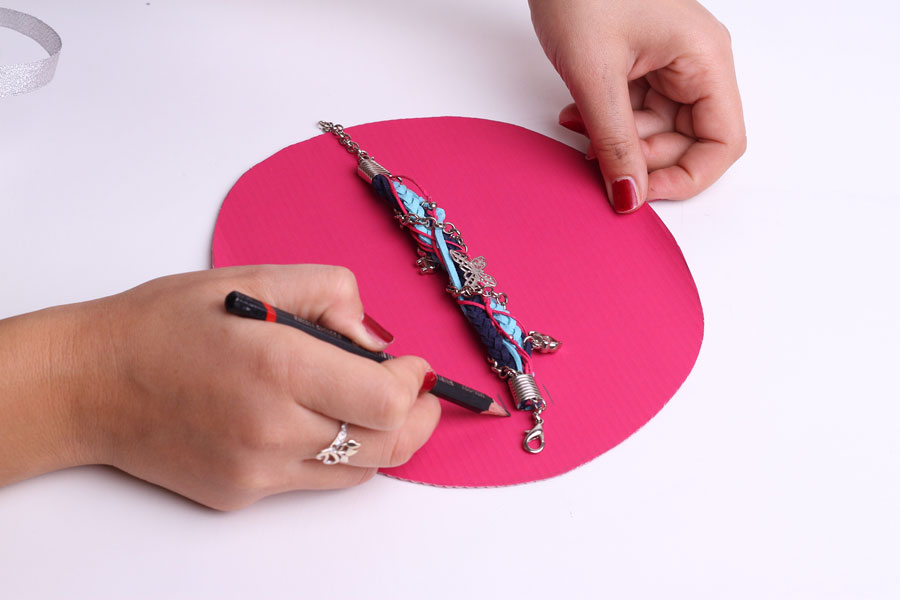
Position the bracelet
Step 3: Use craft knife to cut out 4 lines in the gift paper

Cut out lines in the gift paper
Step 4: Insert the ribbons into the cut-out area of the gift paper

Insert the ribbons
Step 5: Fix the bracelet with the ribbons
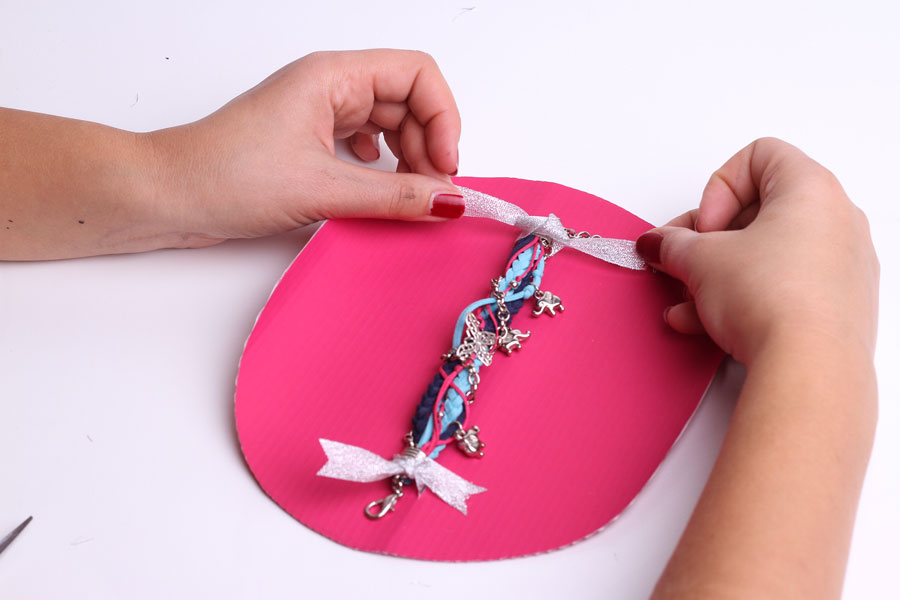
Fix the bracelet
Step 6: Create a beautiful bow to finish the gift wrapping
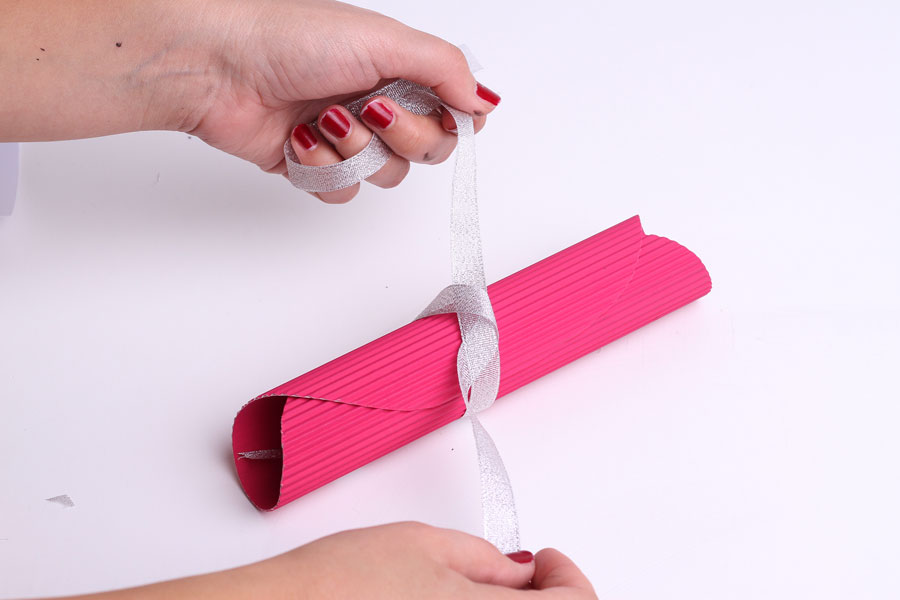
Finish the package with a beautiful bow
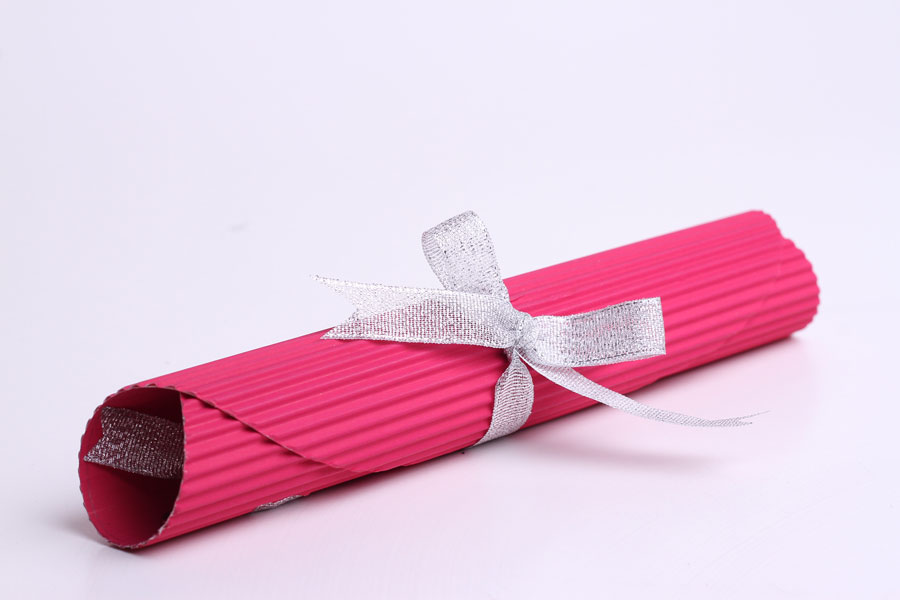
Final package
Tip: Write something lovely inside of the gift wrapping paper, to make a gift more memorable and more personalized.

Tip: Write some lovely words
How do you like this DIY project? would you give it a try? Please leave a comment and let us know which kinds of DIY tutorials you would like to see from us.